Using the Inventory Table
Learn how to navigate and manage Zitcha’s Inventory View to plan, track, and optimize media placements directly within the platform.
The Inventory View in Zitcha provides a centralised, calendar-based overview of all available media placements across your network.
It allows you to plan, manage, and optimise your inventory in real time, ensuring maximum utilisation and visibility for both network managers and advertisers (advertiser view coming soon).
Key Benefits
For Networks
- View all available media placements across onsite, offsite, and in-store channels
- Identify and fill inventory gaps to maximize revenue
- Approve or reject ad sets directly from the inventory timeline
- Resolve clashes and prevent overselling with real-time visibility
- Create and manage campaigns without leaving the inventory view
For Advertisers
- Gain visibility into available placements for upcoming campaigns
- Collaborate with retailers on inventory planning and availability
- Propose ad sets directly for retailer approval
- Track campaign progress and placement status in one view
Step-by-Step: Navigating and Managing Inventory
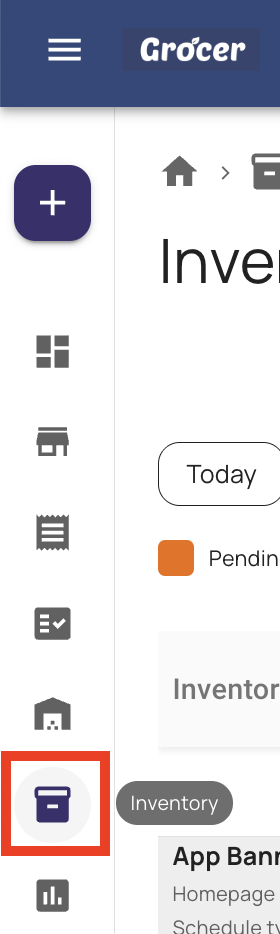
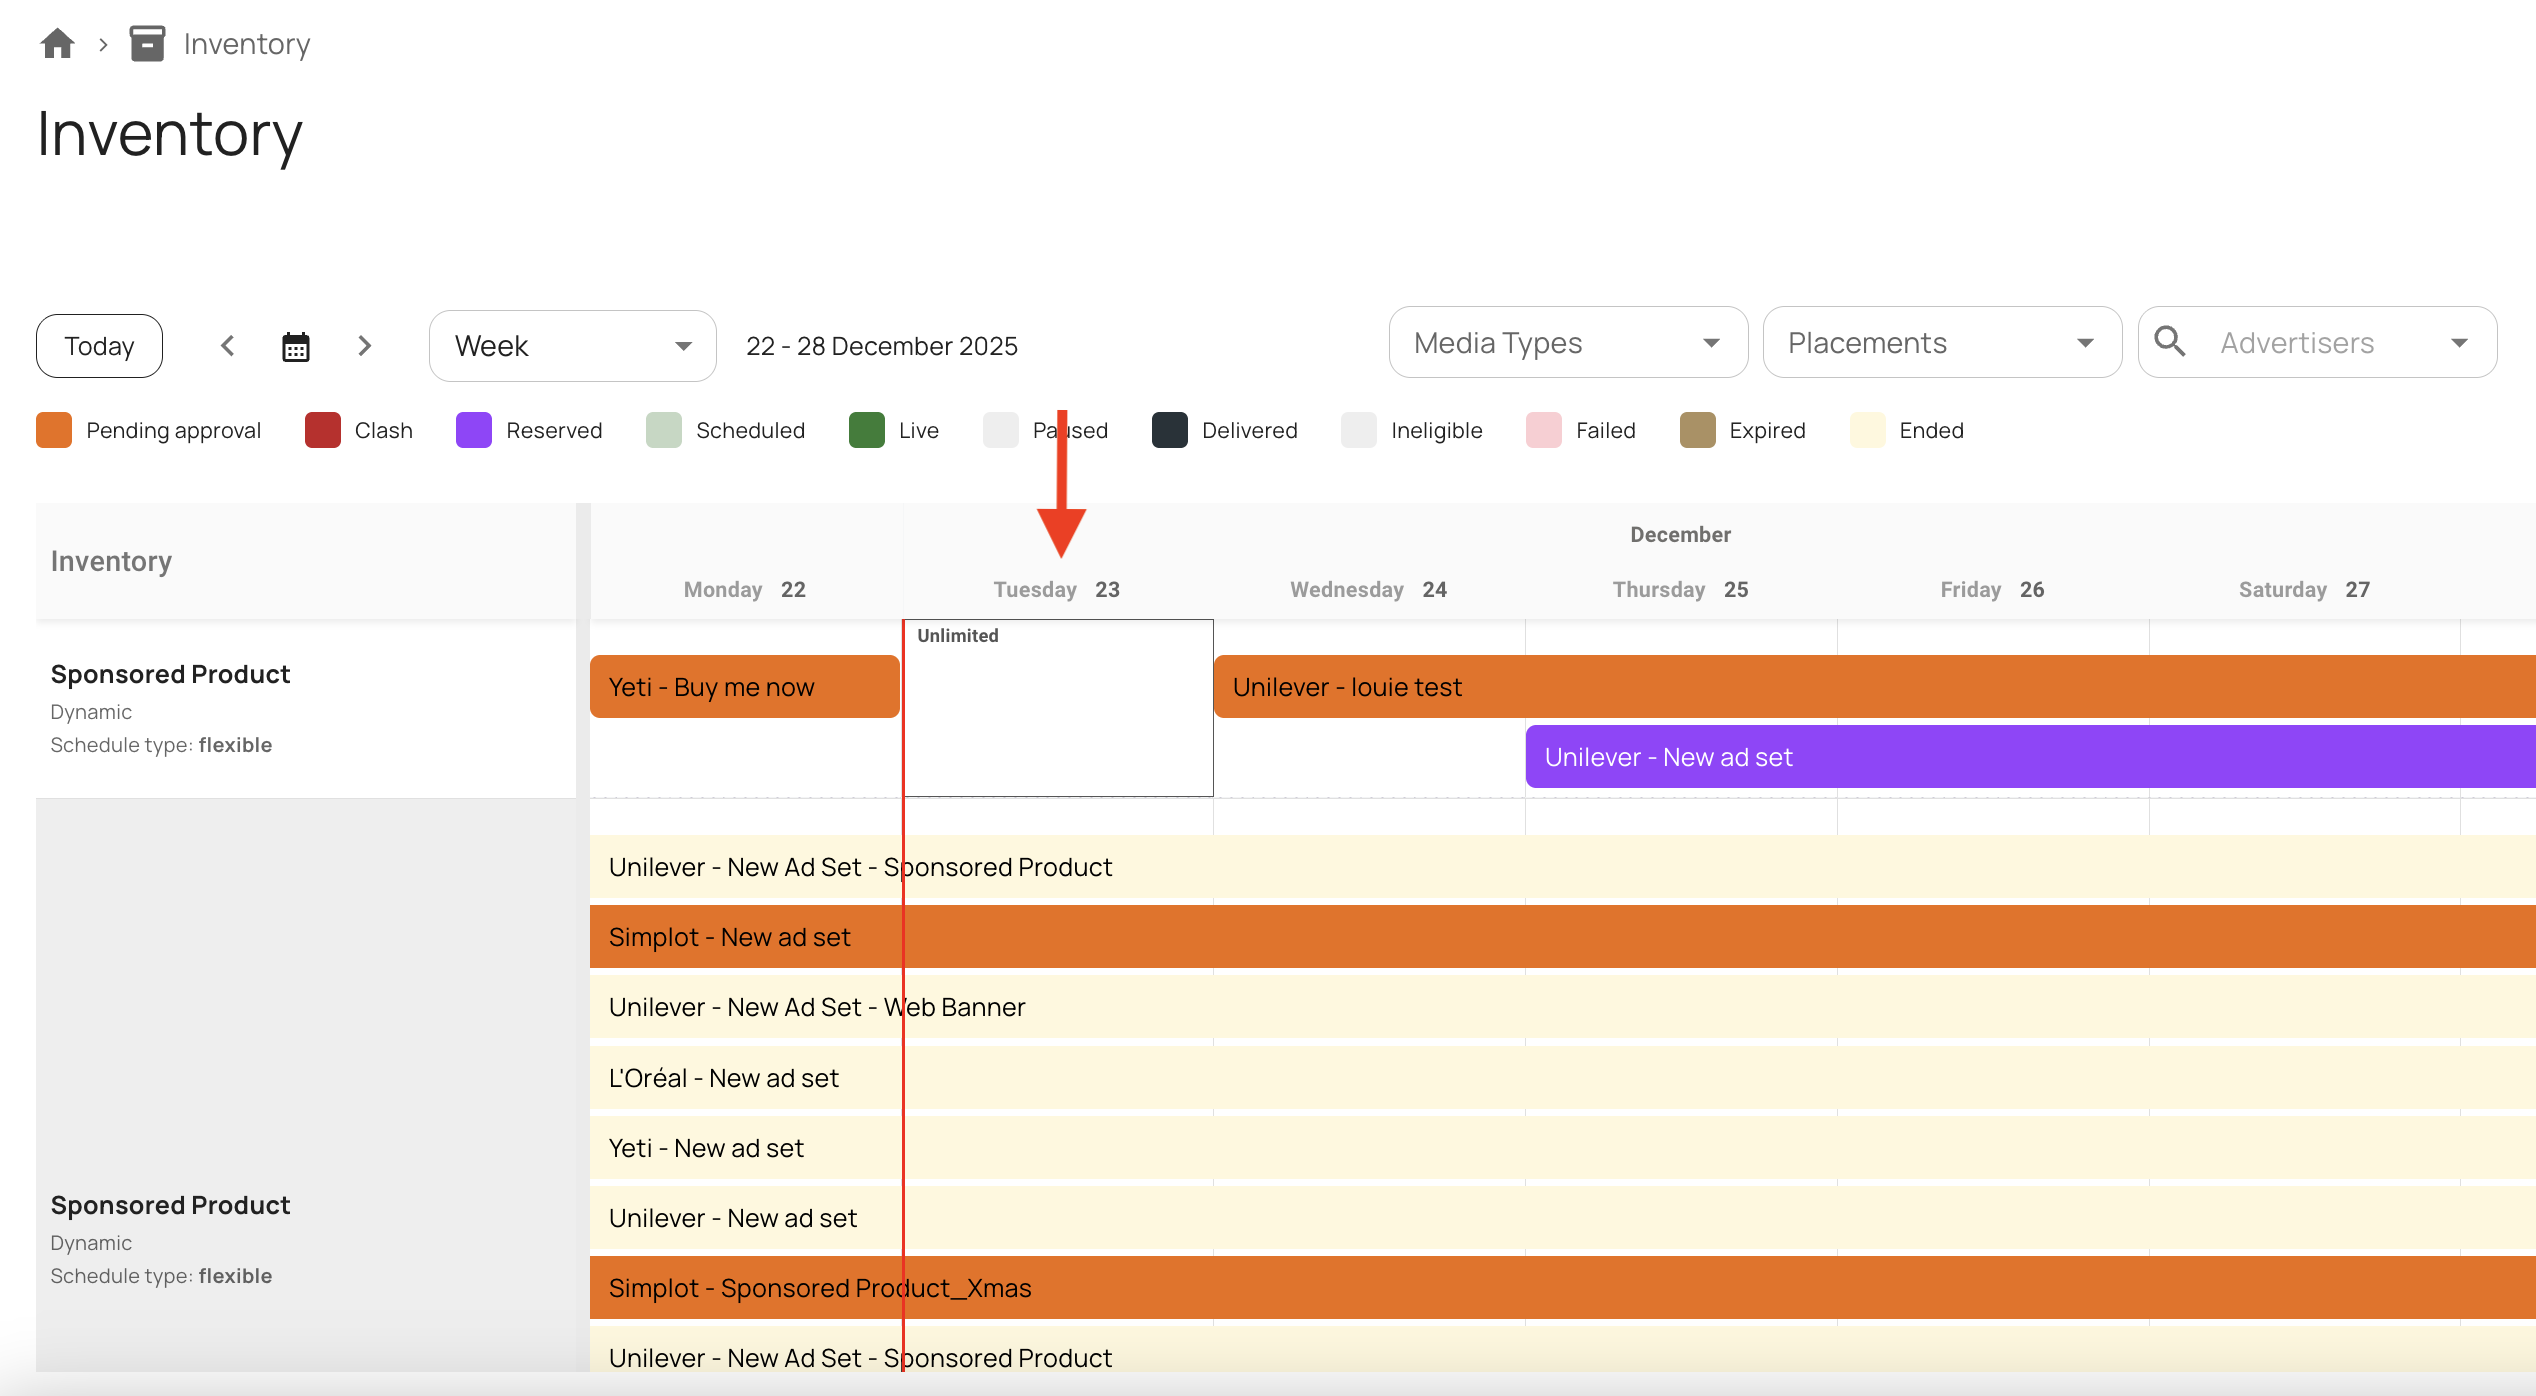
1. Open the Inventory View
- Click Inventory in the left-hand side menu
- The table displays all available media placements, organized by media type and time period
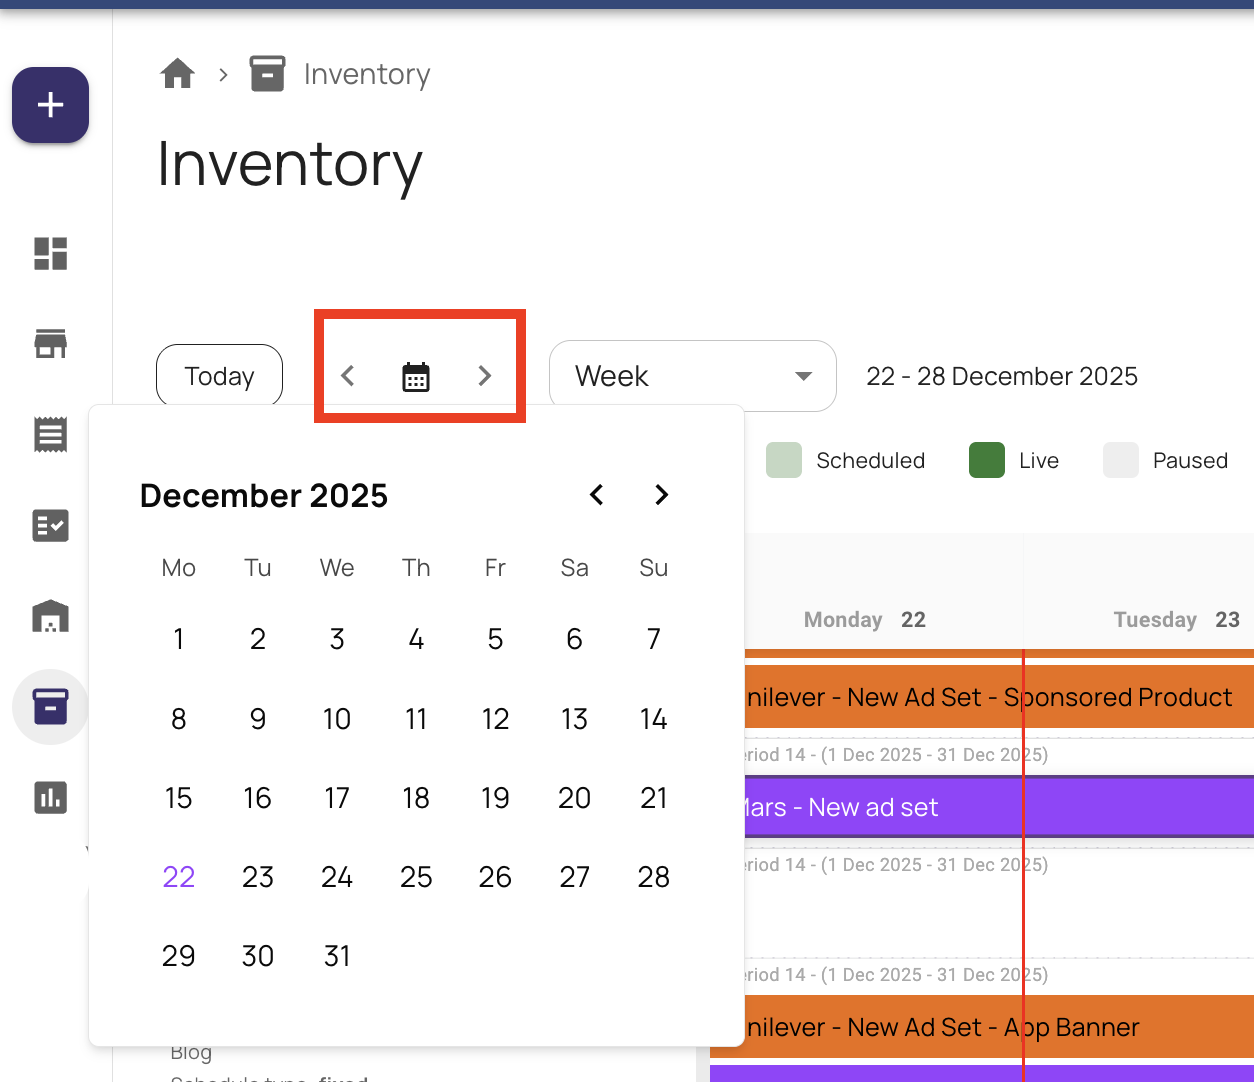
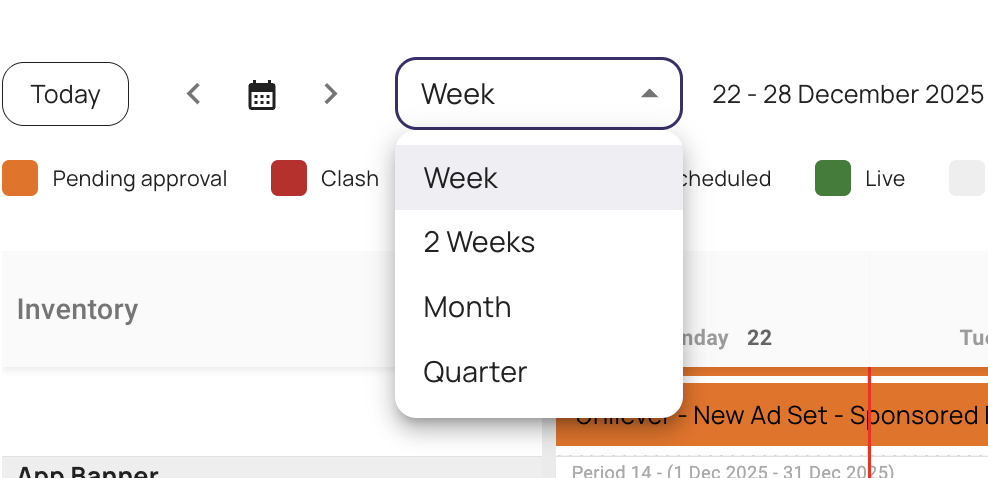
2. Adjust Your View
- Toggle between weekly, fortnightly, monthly, or quarterly views
- Use the custom calendar view to define specific date ranges
- Click Today to return the timeline to the current date
3. Use Filters
- Filter inventory by media type , placement and advertiser
- Filters use AND logic, narrowing results with each selection
Tip: Combine filters to focus on a single media type, placement, or time range.

4. Manage the Display
- Refresh data or expand to full screen from the top-right menu
- Review inventory slots, including fixed-period availability (e.g.
0/2 booked) - Use the color key above the calendar to understand ad set status (pending, live, completed, etc.)

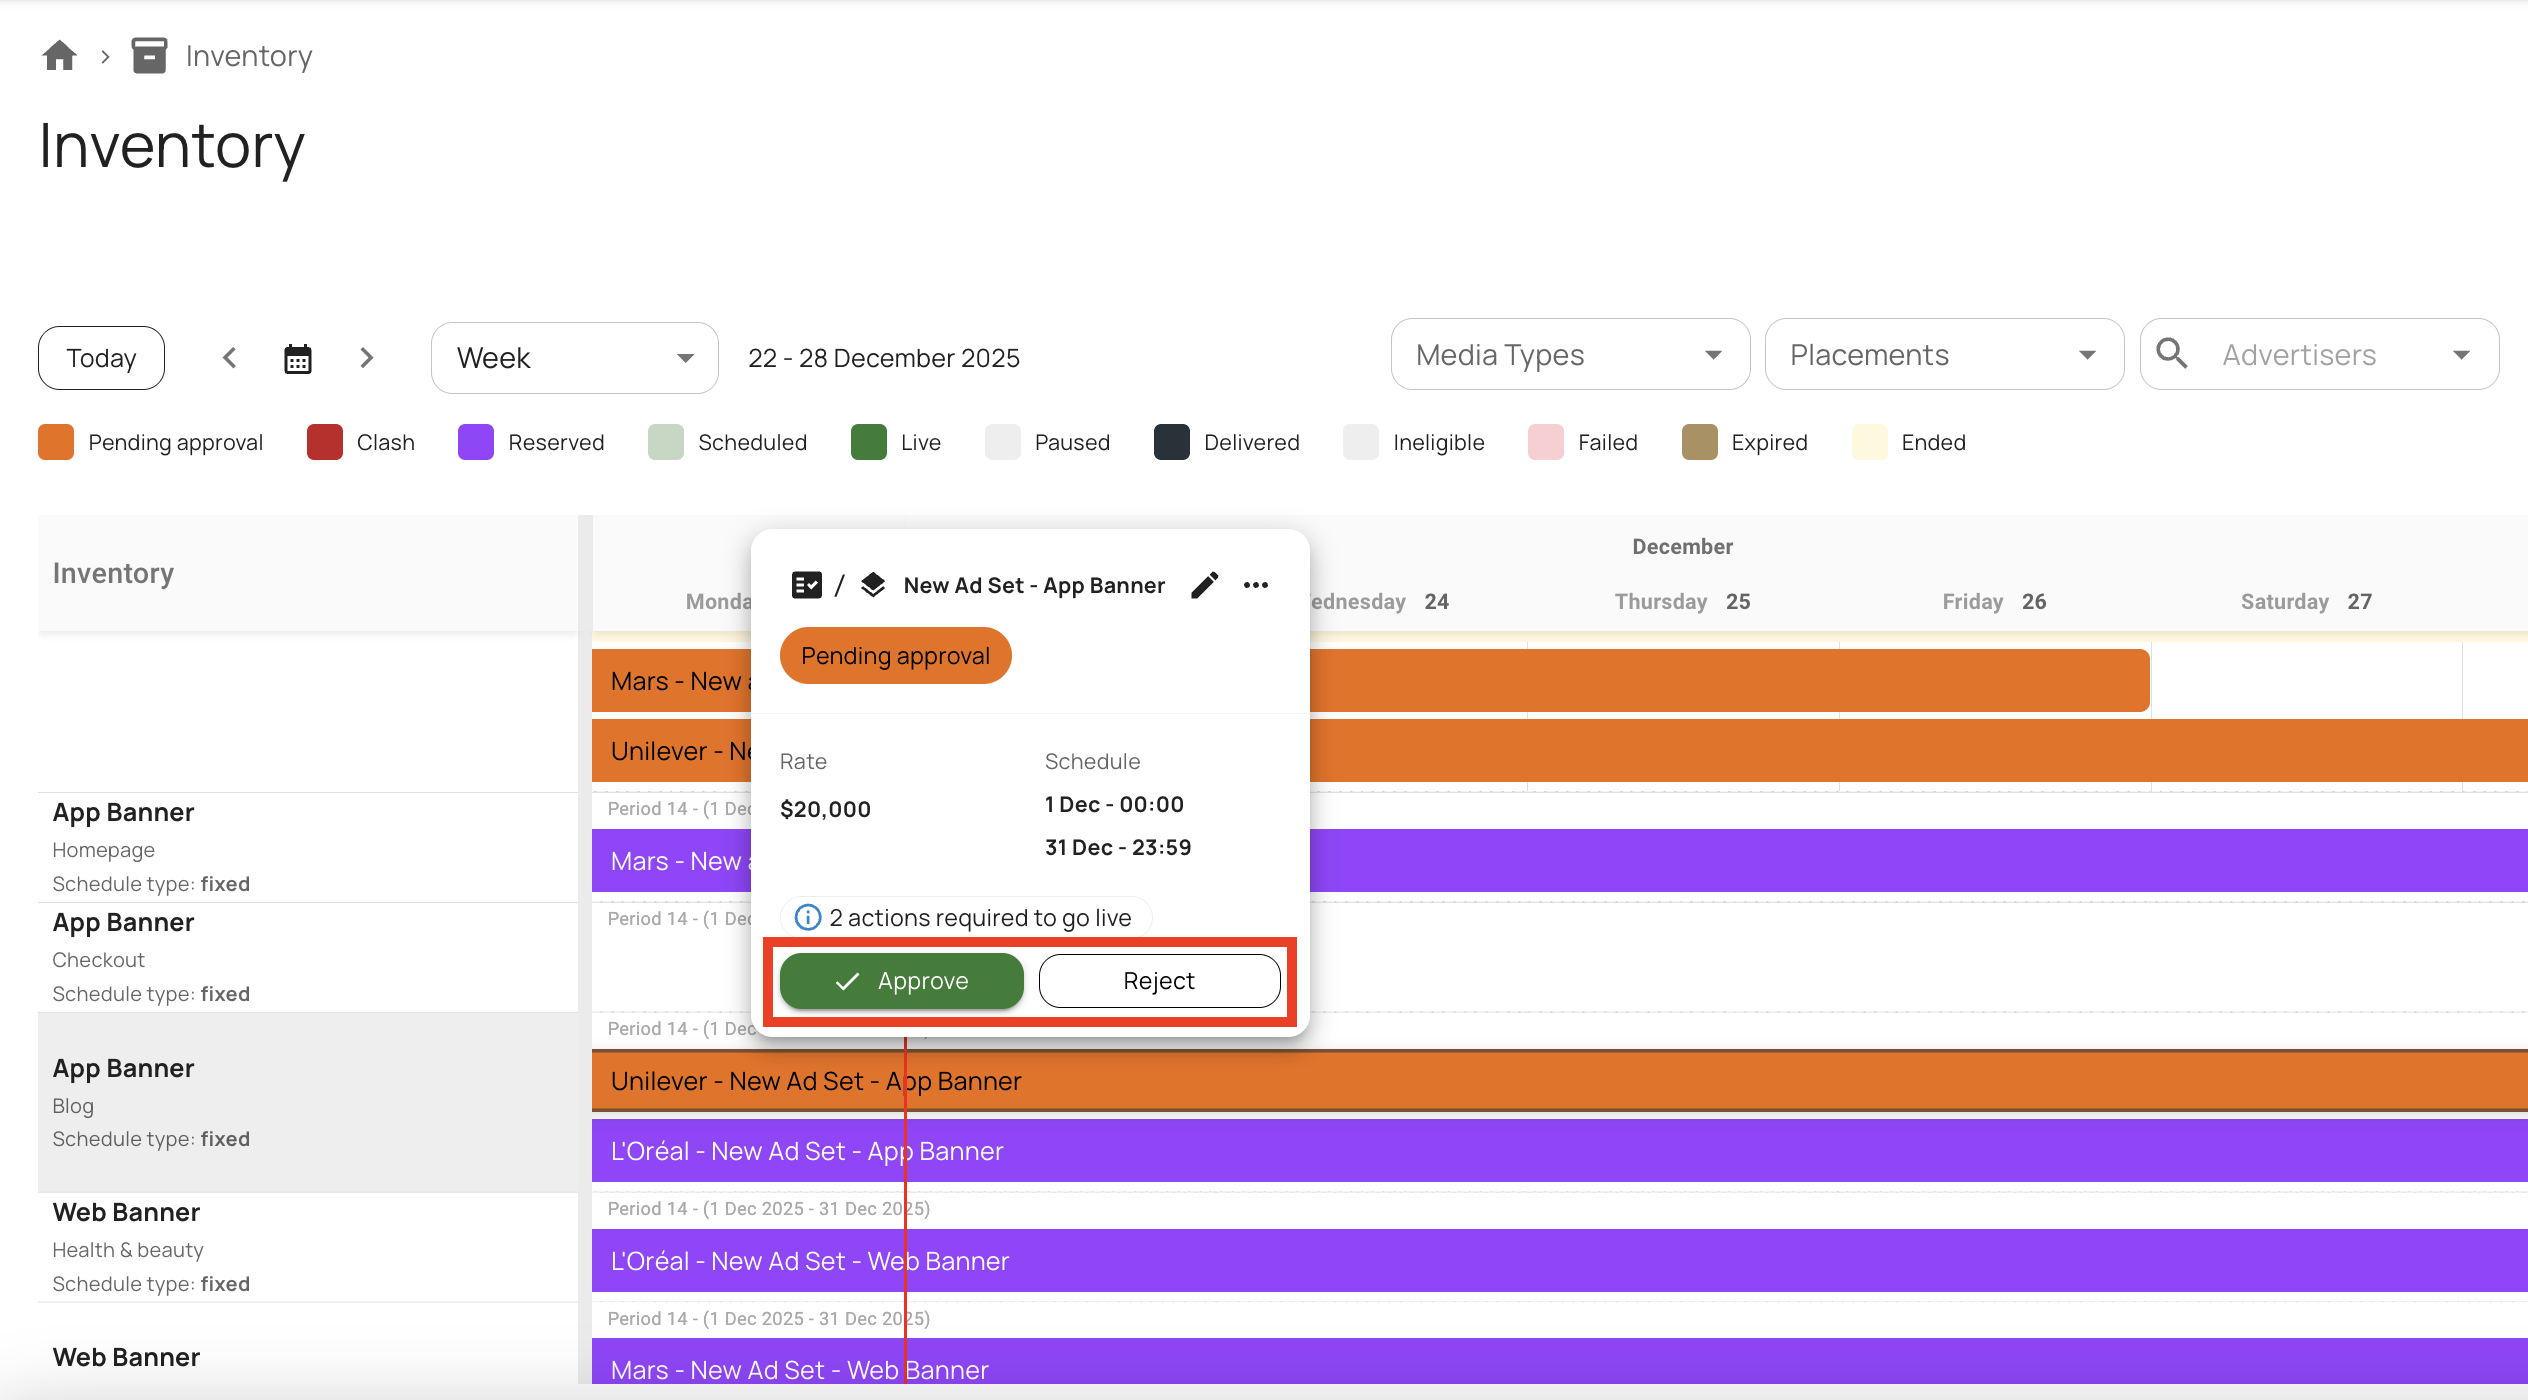
5. Take Action Within Inventory
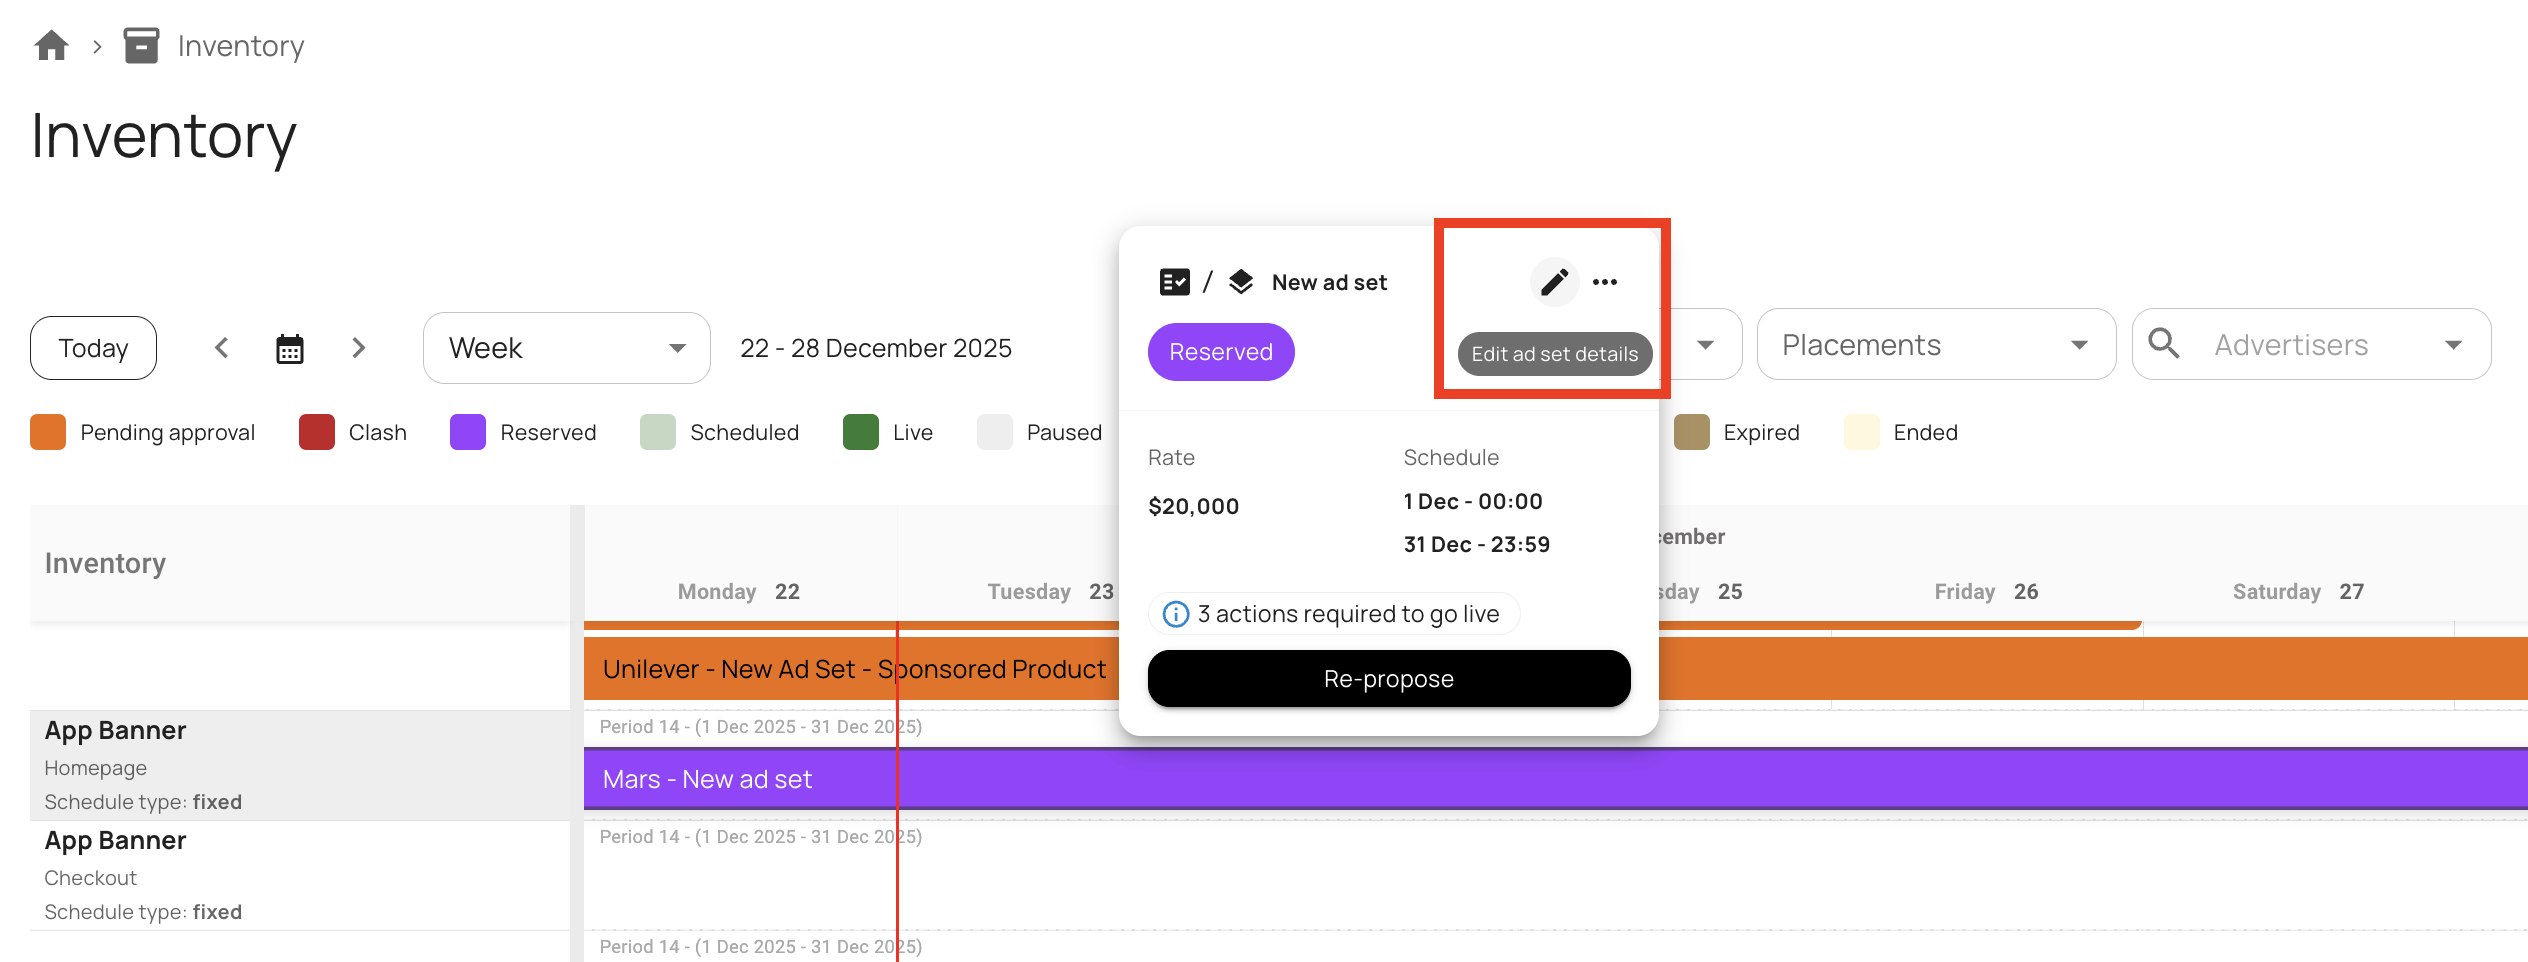
Approve or Reject Ad Sets
- Approve or reject pending ad sets directly within the inventory view
- Click the pencil icon to review or edit ad set details
Resolve Clashes
- Select a clash to open the Pick and Review window
- The selected ad set appears as the “winner” by default — switch if needed
- Click Resolve Clash to finalise
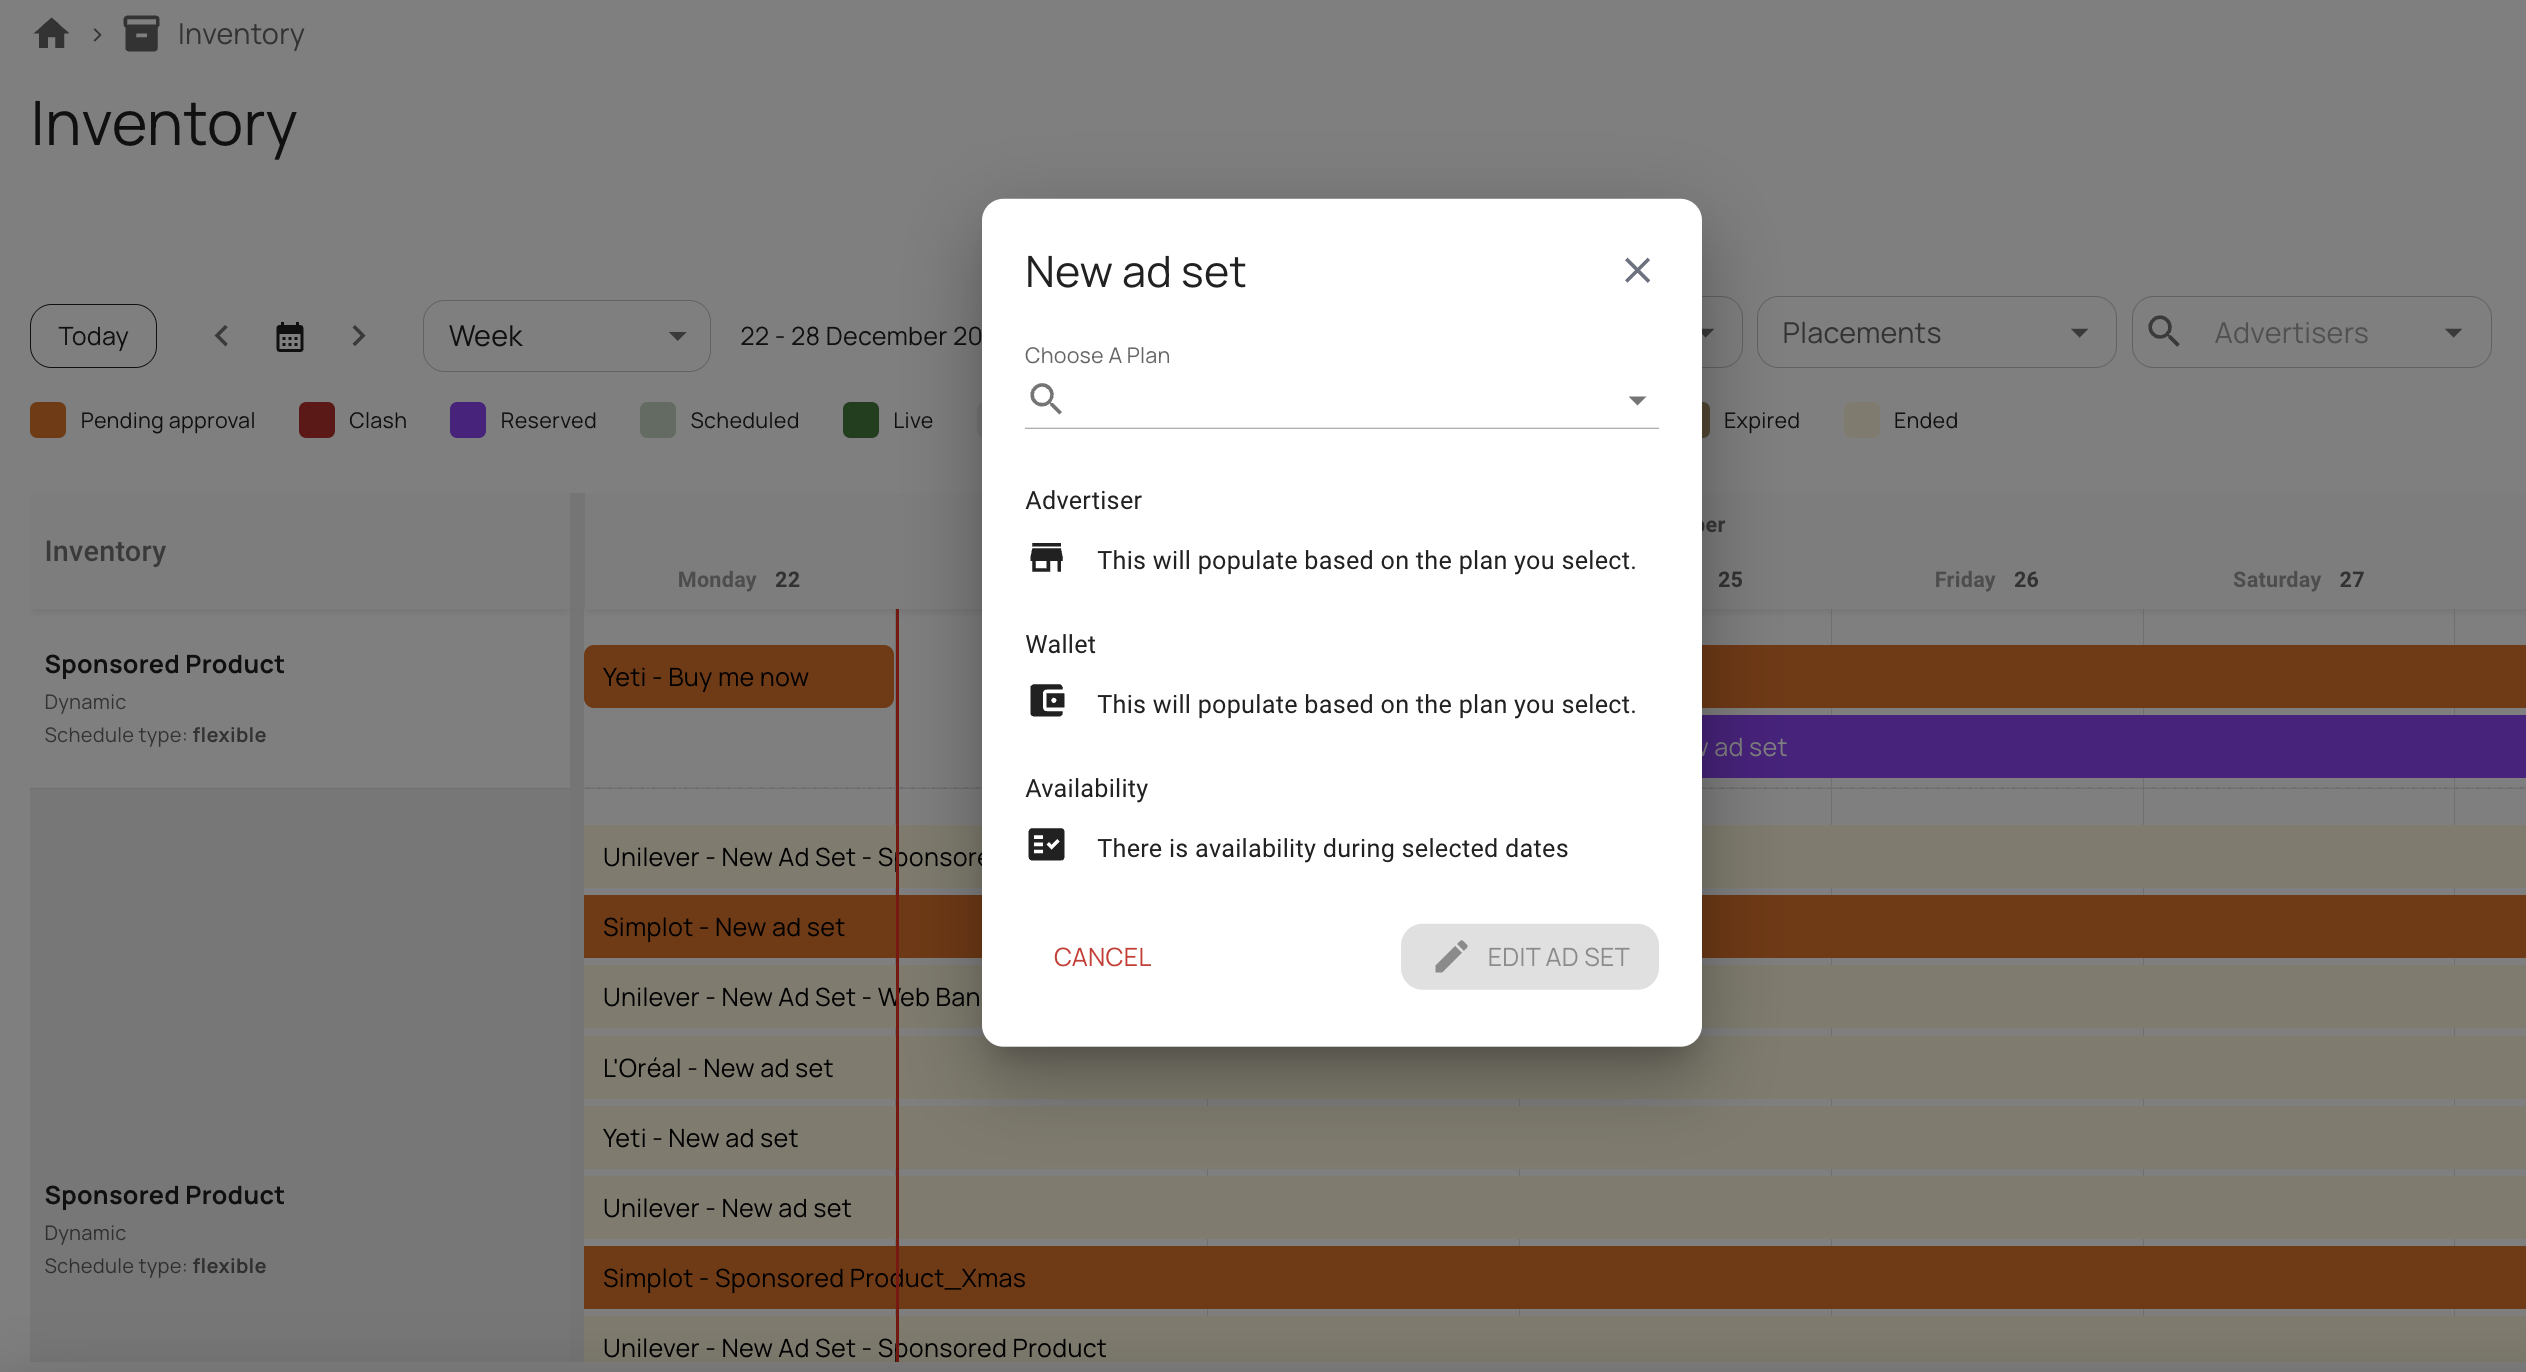
Create New Campaigns
- Click on an empty slot (white space) to create a new campaign
- Select an existing plan to associate it with
- The advertiser, wallet, and available inventory will automatically populate
Edit or Propose Ad Sets
- Select Edit Ad Set to open the ad creation modal
- Upload creatives and complete required ad fields
- Click Propose Ad Set to send for approval
Notes, Edge Cases & Tips
Fixed vs. Flexible Inventory:Fixed inventory periods display clearly with booked and available slots (e.g.
0/2).
Refresh Anytime:Use the top-right menu to refresh your view or switch to full-screen mode for better visibility.
Efficiency Tip:Most actions — approving, editing, creating, or resolving — can be completed without leaving the inventory screen, saving time for operations teams.
Wrap-Up
The Inventory View in Zitcha brings clarity, control, and collaboration to retail media management.
It allows you to visualize all media placements, manage ad sets, and resolve scheduling conflicts - all from one intuitive interface.
With real-time visibility and flexible filtering, your team can stay on top of every campaign and maximise every available slot.
Updated 5 days ago